Discovering Amaranth

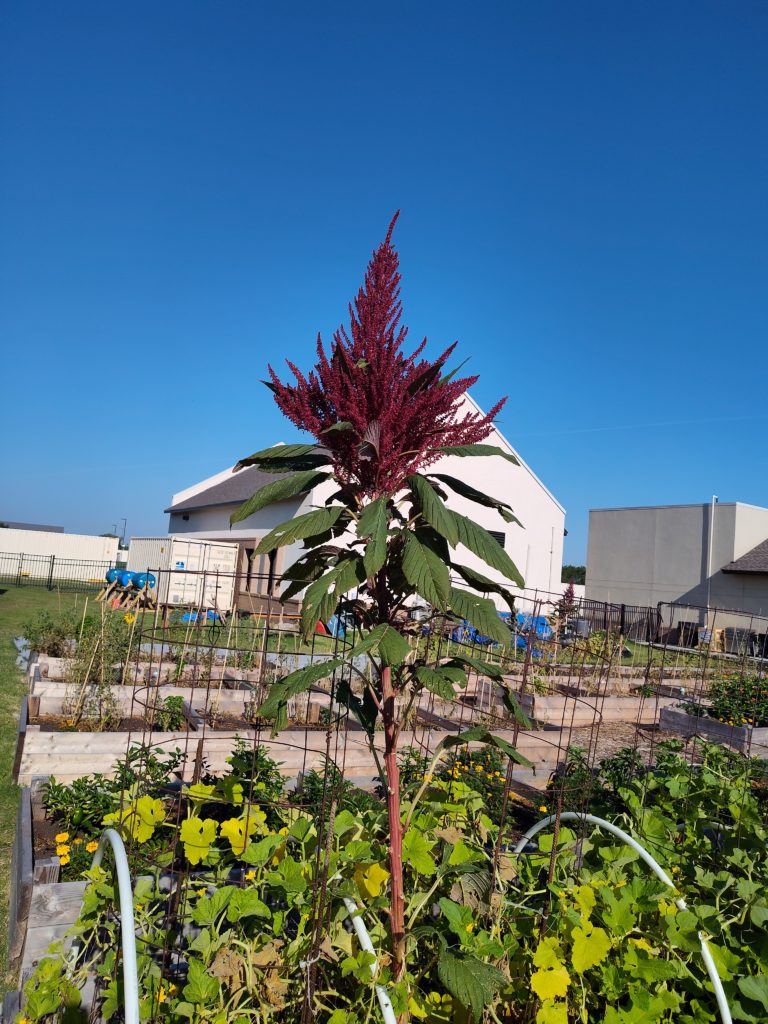
In a garden that I superintend, I get the question, “So what is that tall plant with the red top growing in the garden?” It’s amaranth! Here’s a picture….

Amaranth is such a versatile plant – it is used for food (greens and seeds/grain), as a dye plant, and even a food source for some butterflies and moths.

Amaranth has quite a history as a staple food source for people, dating back thousands of years. Although it is thought to have originated in the Americas, various amaranth species (of which there are 75!) are found on six continents, according to Wikipedia.

The leaves are cooked and eaten like spinach, while the seeds are treated like a grain. Most notably, in Mexico the seeds are toasted like popcorn and mixed with honey, molasses, or chocolate to make a treat.

Amaranth can be found in Africa, as well as in parts of Asia, where the greens are popular. In Greece, the purple amaranth leaves are boiled, then served with olive oil and lemon juice.

The red top seed-head is known as Hopi Red Dye. And I intend to test it out as a dye plant in the next few weeks – I’ll report on the results when I do.

Finally, a species of amaranth has a questionable reputation – it is known familiarly as pigweed, and is viewed as a noxious weed by farmers who strive to eradicate it from their fields. But, like all amaranths, pigweed is edible.

So look for amaranth and maybe try cooking some (young, tinder) leaves.

Golden Harvest Time, And Greens Go Wild

Leaves
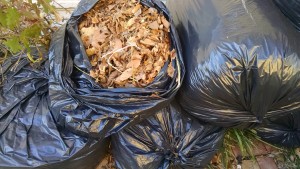
Leaves – they are appearing by the bagful on curbs all over the city. And I’ve been driving about, collecting as many as I can. I particularly like the large clear bags of leaves so that I can be sure it’s just leaves, and not trash.

Leaves are gardener’s gold. They provide carbon for the compost pile. They are a good soil amendment and are great for mulch. I use them prolifically in my hugelkultur beds.

And most important – They are free.

So save your leaves and put them on your garden beds or work into your compost pile now and gather a few extra bags for use later in the year.

Garden greens more dec 2015

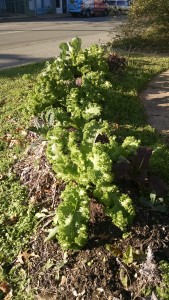
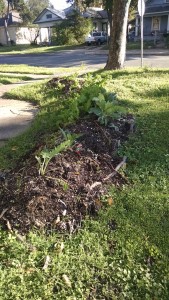
Remember that hugelkultur bed I installed a month or so ago? The greens are taking over! We had our first dish of greens – collards and mustard – from the garden last week. And I go through and remove ragged leaves for the hens – which they, of course, love. The greens have weathered our almost-freezes well, and the chard is beginning to take off.

Now, we’re going to be installing a spiral garden in another part of the yard, and more growing space. Stay tuned for updates!

Greenhouse Installed! Hugelkultur Bed Greens Are Thriving

As the weather turns colder, we are getting serious about growing food for the winter. Yes, we can grow year-round in the DFW area.

Hugel greens

The hugelkultur bed out front is covered with greens – mostly mustard and collards, with some chard. The mustard is taking over and is now soaking up the wonderful light drizzle.

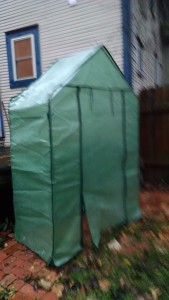
Meanwhile, the greenhouse has been reassembled and tied to the deck out back.  It will allow us to start seeds for herbs for the spring, as well as cultivate Malabar spinach from cuttings we obtained a month or so ago (the porch kitties keep trying to eat our attempts to start it on the front porch!).

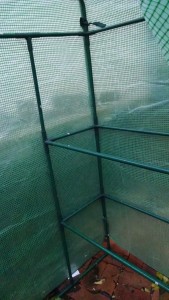
The peek inside shows supports where I’ll be installing the shelves.  The greenhouse itself is pretty roomy, with room for up to 4 flats of seedlings on the shelves and another couple on the ground underneath.  I can even walk in!  It’s about 36″ deep (I know, because I assembled it indoors and it barely fit through the 36″ doorways on the way out to the backyard!)

Greenhouse compact

The greenhouse (a Gardman) is a kit that I bought a couple of years ago, then stacked and stored sometime last year.  It is compact, and stores in a minimal space when not in use.  It is remarkable for a kit – in February 2014 when it was freezing outside, I unzipped the door and walked into a warm, humid environment.  Not exactly 60 or so degrees, mind you, but certainly very much above freezing and seedlings were thriving.

Greenhouse inside

One caution on greenhouses – when it rains, the plants do not get water!  Now that might seem intuitive, but I speak from experience – I keep a watering can inside the greenhouse for dowsing seedlings.

Out of the Starting Gate!

During the cold days the plants may be dormant, but we can’t be.  Too much to do – planning, mostly.  When I was by the community garden on Saturday, the giant red mustard was indeed giant – about 18″-24″ leaves.  I’d cut a few leaves from the outside about 10 days before, and it just stimulated the plant to make more leaves.  Yum.  The taste is a bit sharper than green mustard, but the greens I cooked last night were scrumptious, when mixed with chard that I also harvested.

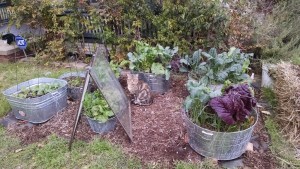
In my container garden, however, the mustard is not growing quite so large.  Note to self – don’t plant so many things in one container!  Evenso, the mustard leaves in the container are at least 12″ when planted with broccoli and chard. As shown in the picture.

Mustard

So how do I cook greens (all types)?  With garlic and olive oil.  I sautee the minced garlic in olive oil in a thick-bottomed sauce pan till it’s soft, then start adding the chopped greens, making sure they are olive oil’d before adding another bunch.  Then I add about ½” of water in the pan, and slap on a lid, turning the fire down low.  Let them cook about 10-15 minutes, till done.  I served with beans and cornbread last night, but greens alone (maybe with some pepper sauce!) or with poached egg are good. Both tasting good and good for your body.

So after all that, I’ve resolved to order more giant red mustard seeds and plant some more while it’s still cold. I order mine from Southern Exposure Seed Exchange (see last week’s post for more information on this excellent source of non-GMO seeds).

Mustard seeds

The community garden’s spinach is doing well.  We planted in mid-November, alternating rows of spinach and carrots (I’m partial to the red-cored chantenay).  Both are about 4-5” high and the spinach was so thick, we thinned to 4” apart, picking the largest plants to leave room for the smaller ones to grow larger.  In about a month, we can start harvesting the carrots – they are already baby-sized and (I tasted one) so sweet.  Something to look forward to.

On another note, I visited family over the holidays, and was discussing gardening with a relative.  We looked out the sliding glass doors (okay, it was just too COLD to go out and look closely), and I saw barren beds, with dry dusty dirt exposed.  I looked at the barren trees in the yard and asked what happened to the leaves.  The yard man blows them together and bags them and hauls them off.  I restrained myself – leaves are the BEST mulch for wintering barren beds.  They preserve and nurture all those soil micro-organisms that are crucial to a plant’s well-being.  And they hold moisture in the ground so that what plants are left (like shrubs) are protected from the cold.  Since the relative had cardboard in her garage, I suggested that she put it out as mulch and wet it down good. Take a deep breath.

Now for my rant:  don’t let those leaves go into the landfill!  They are so valuable for your plants during the winter as well as your lawn.  If nothing else, put them on the compost pile. That’s how to return the nutrients to the soil.  That’s how nature does it and replenishes soils year after year – think about a forest floor, that is soft and moist and alive and rich.  That’s how all our growing beds should be.
 

INTERPLANTING FOR TWICE THE HARVEST; UPDATE ON MICROGREENS

Interplanting is a technique that is used to obtain twice the harvest from the same space.  For instance, I will plant root vegetables (that use the growing horizon under the surface) with a leafy vegetable (that uses the growing horizon above the surface). One combination I use is carrots and mustard/chard/spinach.  Another combination I like is turnips with bok choy. 
 
Greens
I winter plant my carrots in the midst of other plants (e.g., greens) because the greens protect them (it’s called using nurse plants) until the nurse plants are harvested – usually about the time the carrots are ready to take off (in January and February). That way, I get bunches of carrots when I’m getting ready to plant the spring garden. 
Meanwhile, the greens in my outdoor garden are getting larger.  Every time I harvest some, it seems more grow to take their place.  The red mustard must be at least 15-18” high!  The lettuce is about to bolt, so it’ll go into my salads this week.  I think I’ll plant more red mustard for the color as well as the nutrients.  Of course, the kale is happy, and I see the carrots are starting to take off.
Work is continuing on the compost pile, while the microgreens grow higher – selectively. 
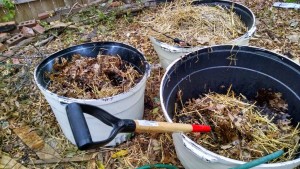
compost-2Bturning
I decided to use three containers for the compost pile, especially since I had 2 containers’ worth of leaves and chicken coop straw.  With a third, I was able to turn the first pile and make sure it was moist.  Green matter from the kitchen was added and mixed in well.  I was able to use a short-handled fork – one that is commonly used to turn over garden areas.  The second container will now be turned into the first, which is now empty.  I’ll probably cover the “completed” one to let it heat up; but I’ll continue to turn it on a weekly or bi-weekly basis to make sure it’s aerated.

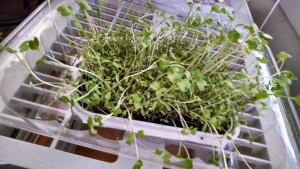
The microgreens are about ready to harvest with kitchen shears – at least SOME of them are.  I’ll have to taste them to determine which ones are the fastest growing.  I may share some of these with my chickens. In fact, I’ll probably prepare another tray of microgreens just for them.  At the rate the greens are growing, I could start a tray about every week or two and have a steady supply of tasty salad add-ons throughout the winter!

micro-2Bgrns-2Bwk-2B2