New Home New Compost Pile

So … I haven’t posted much for the past several weeks –  I moved from Dallas to Tulsa, and have just moved into my new home.  The yard is great and has lots of sun, a blank slate to be filled with permaculture raised beds!  But first …  a compost pile!

I had accumulated scraps for the past few days, and need to get composting going quickly.  Since I don’t have a formal layout yet for the yard, I wanted to do a quick, movable compost pile.  That means a simple wire cylinder!

Step 1:  get wire at hardware store (hardware cloth is what it is called)

Step 2: unroll it, straighten it out, then roll it “backwards” into a large cylinder.  Since the wire ends were not too cooperative, I ended up “sewing” the ends together with the thin wire that helped hold the roll tight in the package.


Step 3: Place cylinder on ground, and lay in brown.  Now, I don’t have any leaves, my favorite “brown.”  But I had some newspaper and so I shredded it (it’s what is also used when starting a worm composting bin, so I figure it might just attract some worms to the pile).  That was the first layer.


Step 4: Add kitchen waste.

Step 5: Top with more shredded newspaper (brown).

Step 6: Wet it down a bit. Now, this was probably not necessary, since we have had a fine rain most of the day, and expect more over the next few days.

And there you have it!  A functioning compost pile for food waste (and leftover newspaper).  I’ve accomplished something at the end of Week 1!


SEEDING Dallas II is Next Saturday!

Our mini-conference on urban ag is scheduled for November 11, 2017, at the Owenwood Neighbor Space (formerly Owenwood UMC).  We have three tracks:  learning gardening, community garden management, and market gardening.

Registration is only $10, and it starts at 8:30 am, ends by 1:30 pm.

Here’s the link to register:  http://www.grownorthtexas.org/events

See you there!

Golden Harvest Time, And Greens Go Wild

Leaves
Leaves – they are appearing by the bagful on curbs all over the city. And I’ve been driving about, collecting as many as I can. I particularly like the large clear bags of leaves so that I can be sure it’s just leaves, and not trash.

Leaves are gardener’s gold. They provide carbon for the compost pile. They are a good soil amendment and are great for mulch. I use them prolifically in my hugelkultur beds.

And most important – They are free.

So save your leaves and put them on your garden beds or work into your compost pile now and gather a few extra bags for use later in the year.

Garden greens more dec 2015

Remember that hugelkultur bed I installed a month or so ago? The greens are taking over! We had our first dish of greens – collards and mustard – from the garden last week. And I go through and remove ragged leaves for the hens – which they, of course, love. The greens have weathered our almost-freezes well, and the chard is beginning to take off.

Now, we’re going to be installing a spiral garden in another part of the yard, and more growing space. Stay tuned for updates!

Compost and Hugelkultur

We’ve been busy here at the urban homestead….

compost now

First, we salvaged several pallets to start a measured compost pile.  Now, there are many ways of composting – from piling some vegetable matter in a heap and walking away … for as much as a year. After all everything composts eventually. All the way to the 18-day Berkeley method that requires careful building and turning religiously throughout the 18-day period.

I chose to go with a medium-time way.  Pallet-walled bins that allow turning on an occasional basis.  We’ll have compost within a month or so.  In fact, much of the vegetable matter that went into the bin were composting of themselves in the plastic bags!  With the chicken-coop litter, nitrogen was incorporated to help heat the pile up.  Made sure it was damp and then covered it with a tarp.

compost site bins

It was great to have the bins made…I’d been using old tree-planters and before that a little galvanized can.  The bin method will suit me, because I’ve been expanding my planting areas in the front yard and will need a bunch of compost to complete it.

We cleared the backyard of downed and cut branches and sticks and put them on the street for the bulk pickup.  But THEN…. we decided to start another growing bed – in the ground, actually, rather than in a container (!).  So we took the pile down by half by laying out the sticks and branches to form a narrow, curving bed to follow the walkway in a portion of the front yard.

hugel sticks

Then, because my straw bales had seen better days for growing (after all, they had survived two seasons!), they went on top of the sticks, mixed in with some leaves I begged off the landscapers at my bank.

Next, we’ll put more vegetable matter on the bed, then top it all off with mulch and plant.

Hugel straw layer

This type of bed is called “hugelkultur” which is a technique that has been used in Eastern Europe for centuries.  (See my earlier postings on hugelkultur – they are more detailed.)  BUT….the essential thing about this technique is that it retains water.  That’s what we need in dry times, like we’re having now.  As the wood on the bottom decomposes, not only does it serve as a habitat for fungi, particularly mycorrhizal fungi (which are so important for the soil food web), but the wood becomes like a sponge and holds water.

Remember this – if nothing else – the more organic matter we can put into the soil, the more water it will hold when it rains, and the less you will have to water your plants!

Gardening During Drought – Part I

As I was driving through Plano the other day, I was thinking of California, which is in the news with state mandated water restrictions.  There are signs on most well-travelled roads that watering restrictions are in force.  Water conservation is good any time, but with a continuing drought, we have to re-think how we garden and how we water.

There are a number of ways to reduce watering when installing/replanting a garden.  First, the more organic matter that is in the soil, the more it will hold the water it gets.

Sometimes folks use things to break up the soil and aerate it, but don’t realize that it isn’t helpful for holding water.  Peat moss has been the favored clay loosener, but I was reading the other day that peat pots tend to cause soil to dry out faster – leading to more frequent watering.  Does that mean that it also doesn’t hold water as well when mixed in the soil?  A better amendment for potting is sustainably harvested coco fiber – it also holds water quite nicely.

What’s that?!

Coco fiber is that fiber on the outside of a coconut.  It comes in bricks and I’ve seen them available at local garden nurseries such as Redenta’s as well as North Haven Gardens.  The bricks are made of fibers that are dehydrated and compressed. The fun part is when you put that brick in a LARGE container to rehydrate (not the regulation 5-gallon bucket, which I heard one person busted during the rehydration process, because it wasn’t large enough).  Put water in the water in the container with the brick and watch what happens – it’s great for kids to participate in this process.  If you want to get mucky, start massaging the fiber off the brick into the water – you get a slurry of muddy mass.  THIS is what you use to mix into potting soil or into raised beds to loosen clay, aerate the bed, and provide moisture retention.

Because the coco fiber does hold moisture – you just witnessed this quality when you rehydrated it!

So we need organic matter – that also means compost and lots of it!  If you haven’t started your compost pile, now (whenever now is) is the best time.  Never too late.  I’ll write another week on compost piles – the slow, the soon and the real quick methods. You can also buy compost (bagged or by the pickup load or by the dump truck load) from folks like Soil Building Systems.

Organic matter – lots of it.  That’s number one.

Then there’s mulch.  Lots of it, too.  Mulch can be bagged stuff you get from the nursery, or delivered by the dump truck, or gathered yourself on the side of the street (read:  leaves in bags). You can also buy straw (not hay) to use as mulch.  Newspapers work, as does cardboard, spread around your plants and watered in well and then covered with leaves (watered in well also).

Leaves make excellent mulch.  Think of a forest floor and how the leaves carpet the ground, keeping it moist and soft, then deteriorating and becoming part of the soil.  Leaves are also free.

I should note here that if you get a dump truck load of mulch, you might want to invite some friends over to help you distribute it.  Here’s a picture of a mulch-spreading party this last weekend.

Mulch mountain

Mulch is magic.  It serves many purposes – first, it keeps weeds down (yay! less work!).  Second, it shades the soil so that the plants’ feet stay cool even in the hottest baking sun.  That means less water, because it prevents the soil from drying out.  And third, mulch condenses moisture from the air during the night, bringing more moisture to the soil and your plants.    (NOTE:  Do not use cedar bark mulch on vegetables – it’s best used in ornamental plantings.)

All that compost and mulch results in less watering needed to keep your garden going and producing.

In doing some calculations for a community garden’s rain water collection needs, I read that 100 sq. ft. of conventional vegetable garden needs 60 gal. a week at 60 degrees Fahrenheit.  Obviously as the temperature goes up, more water would be needed.  I couldn’t find any figures for how much mulch and organic matter reduce that, but I’ll bet it’s quite a bit – maybe as much as 50%.  Be kind to your water bill – and conserve.

In Part 2 (next week) I’ll talk about how we can build garden beds that require even less water.

Compost Those Leaves!

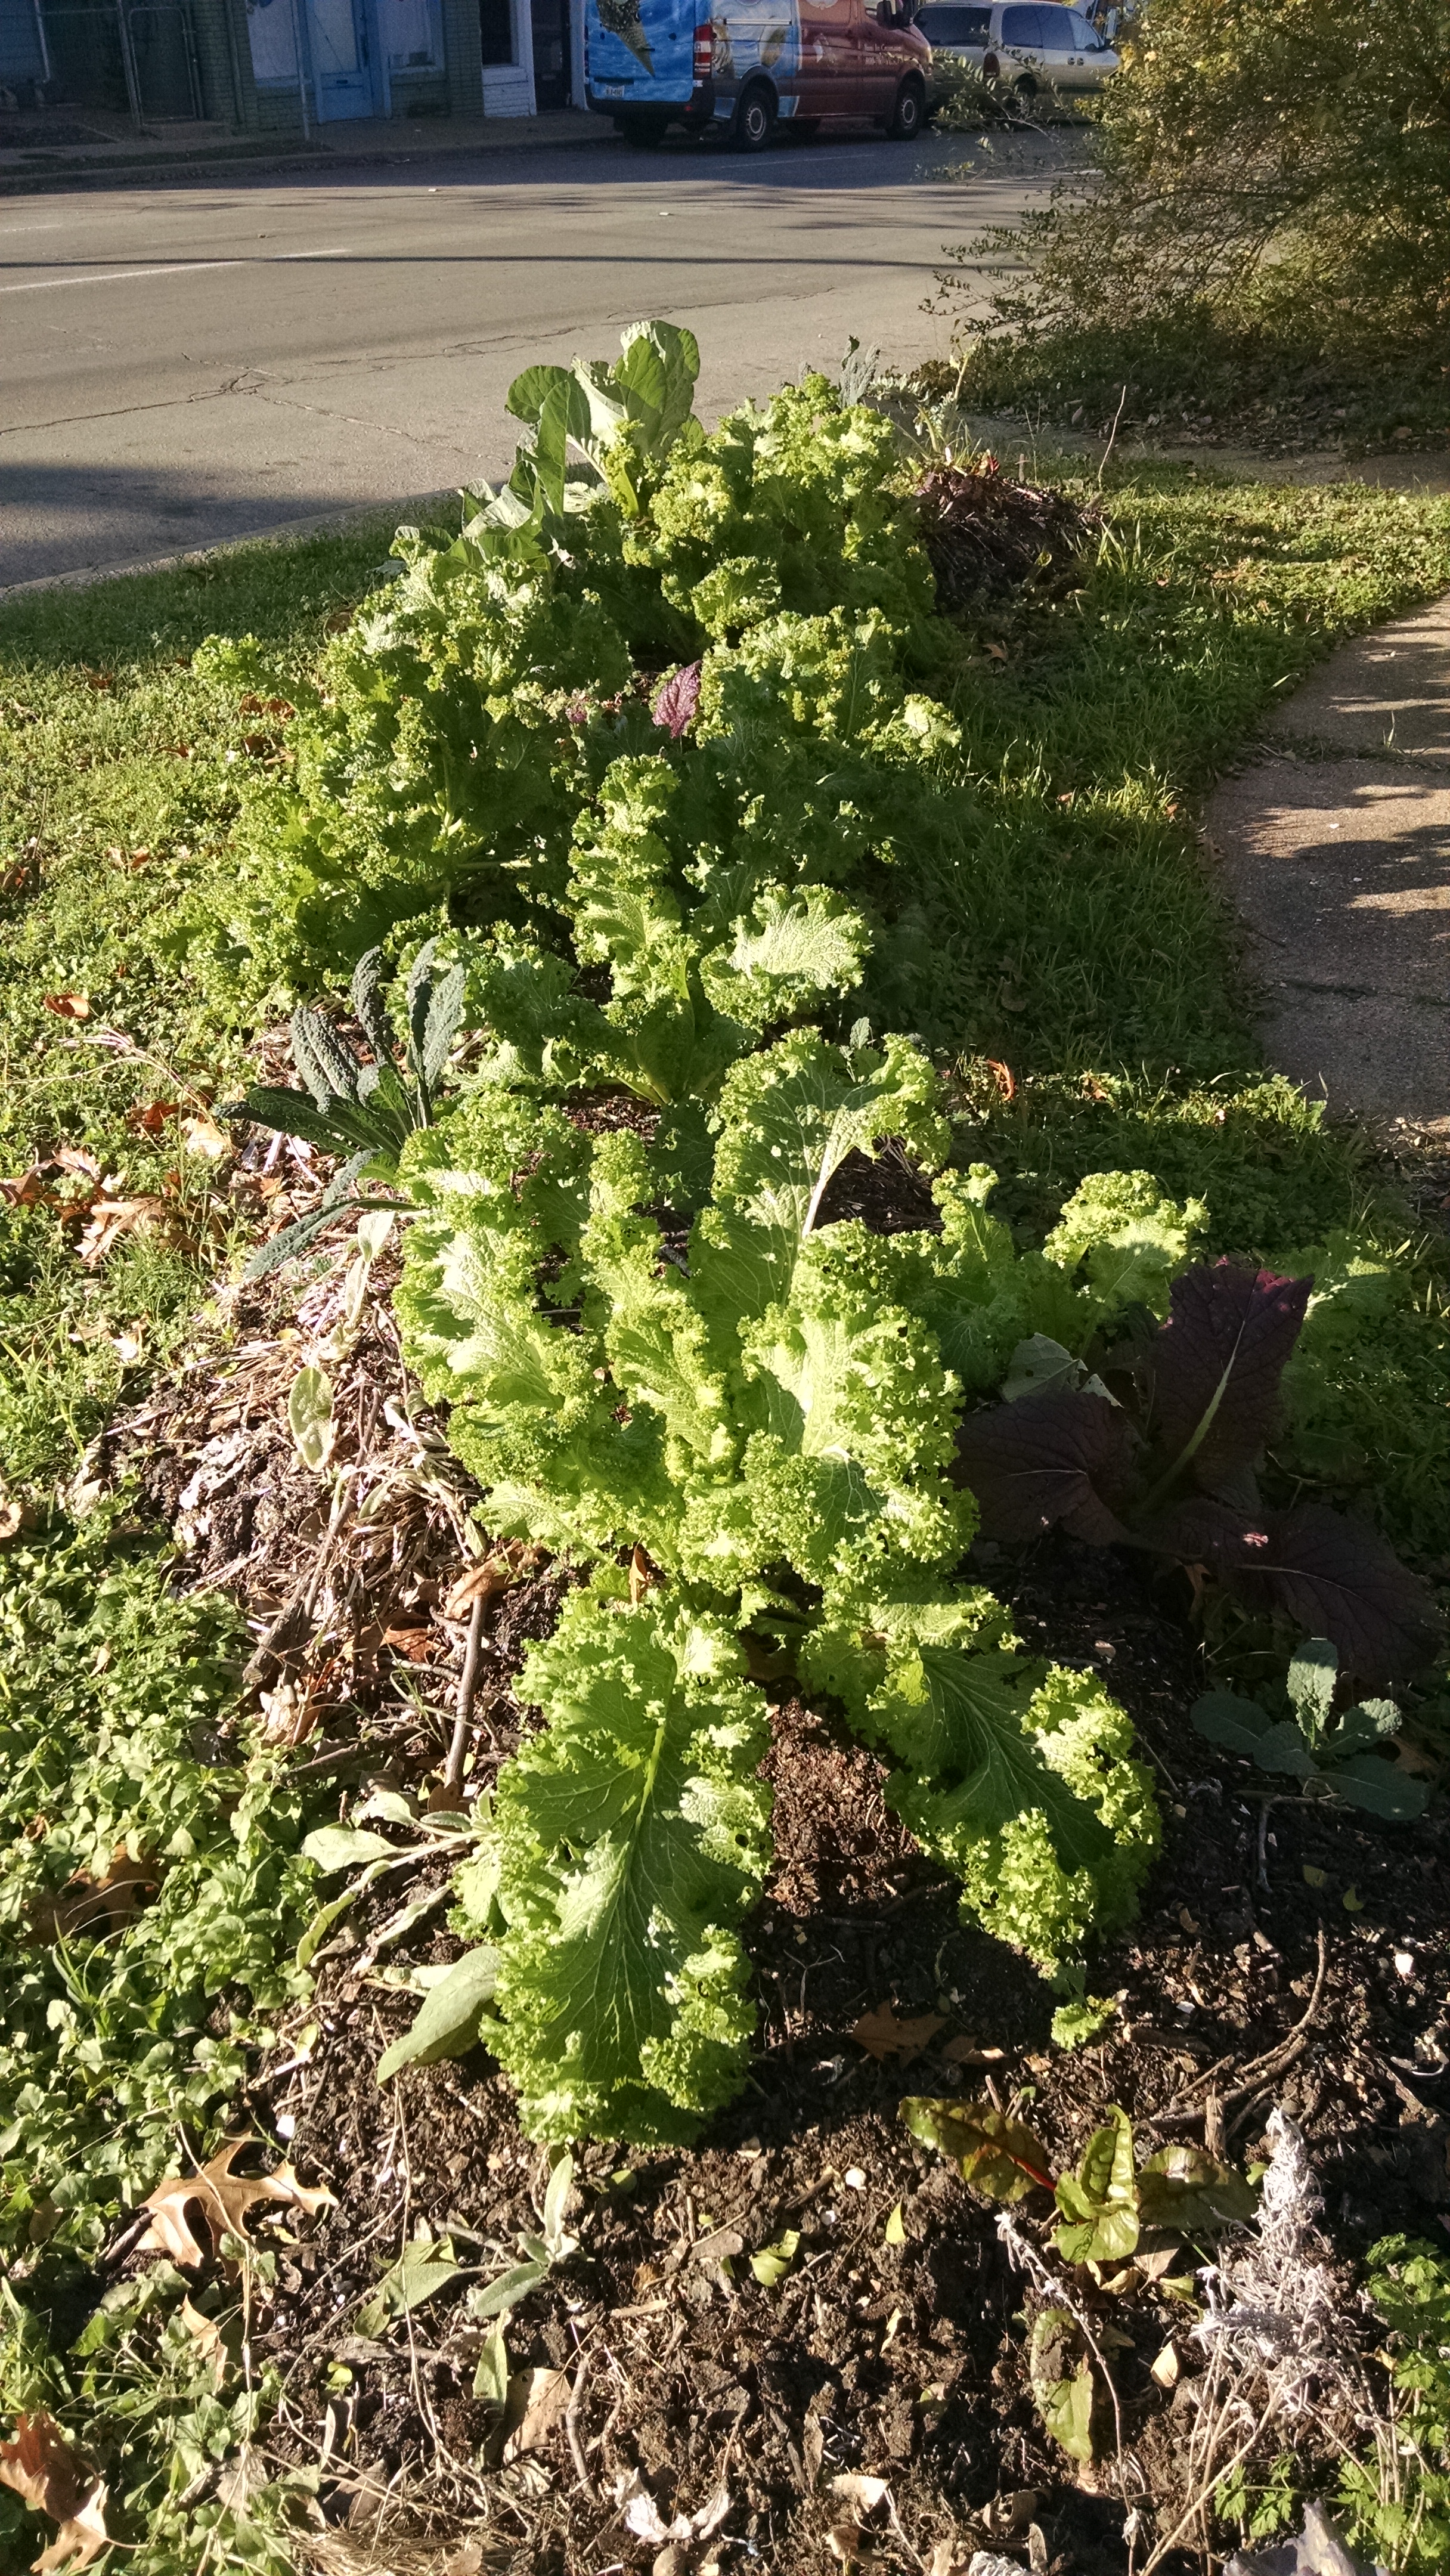
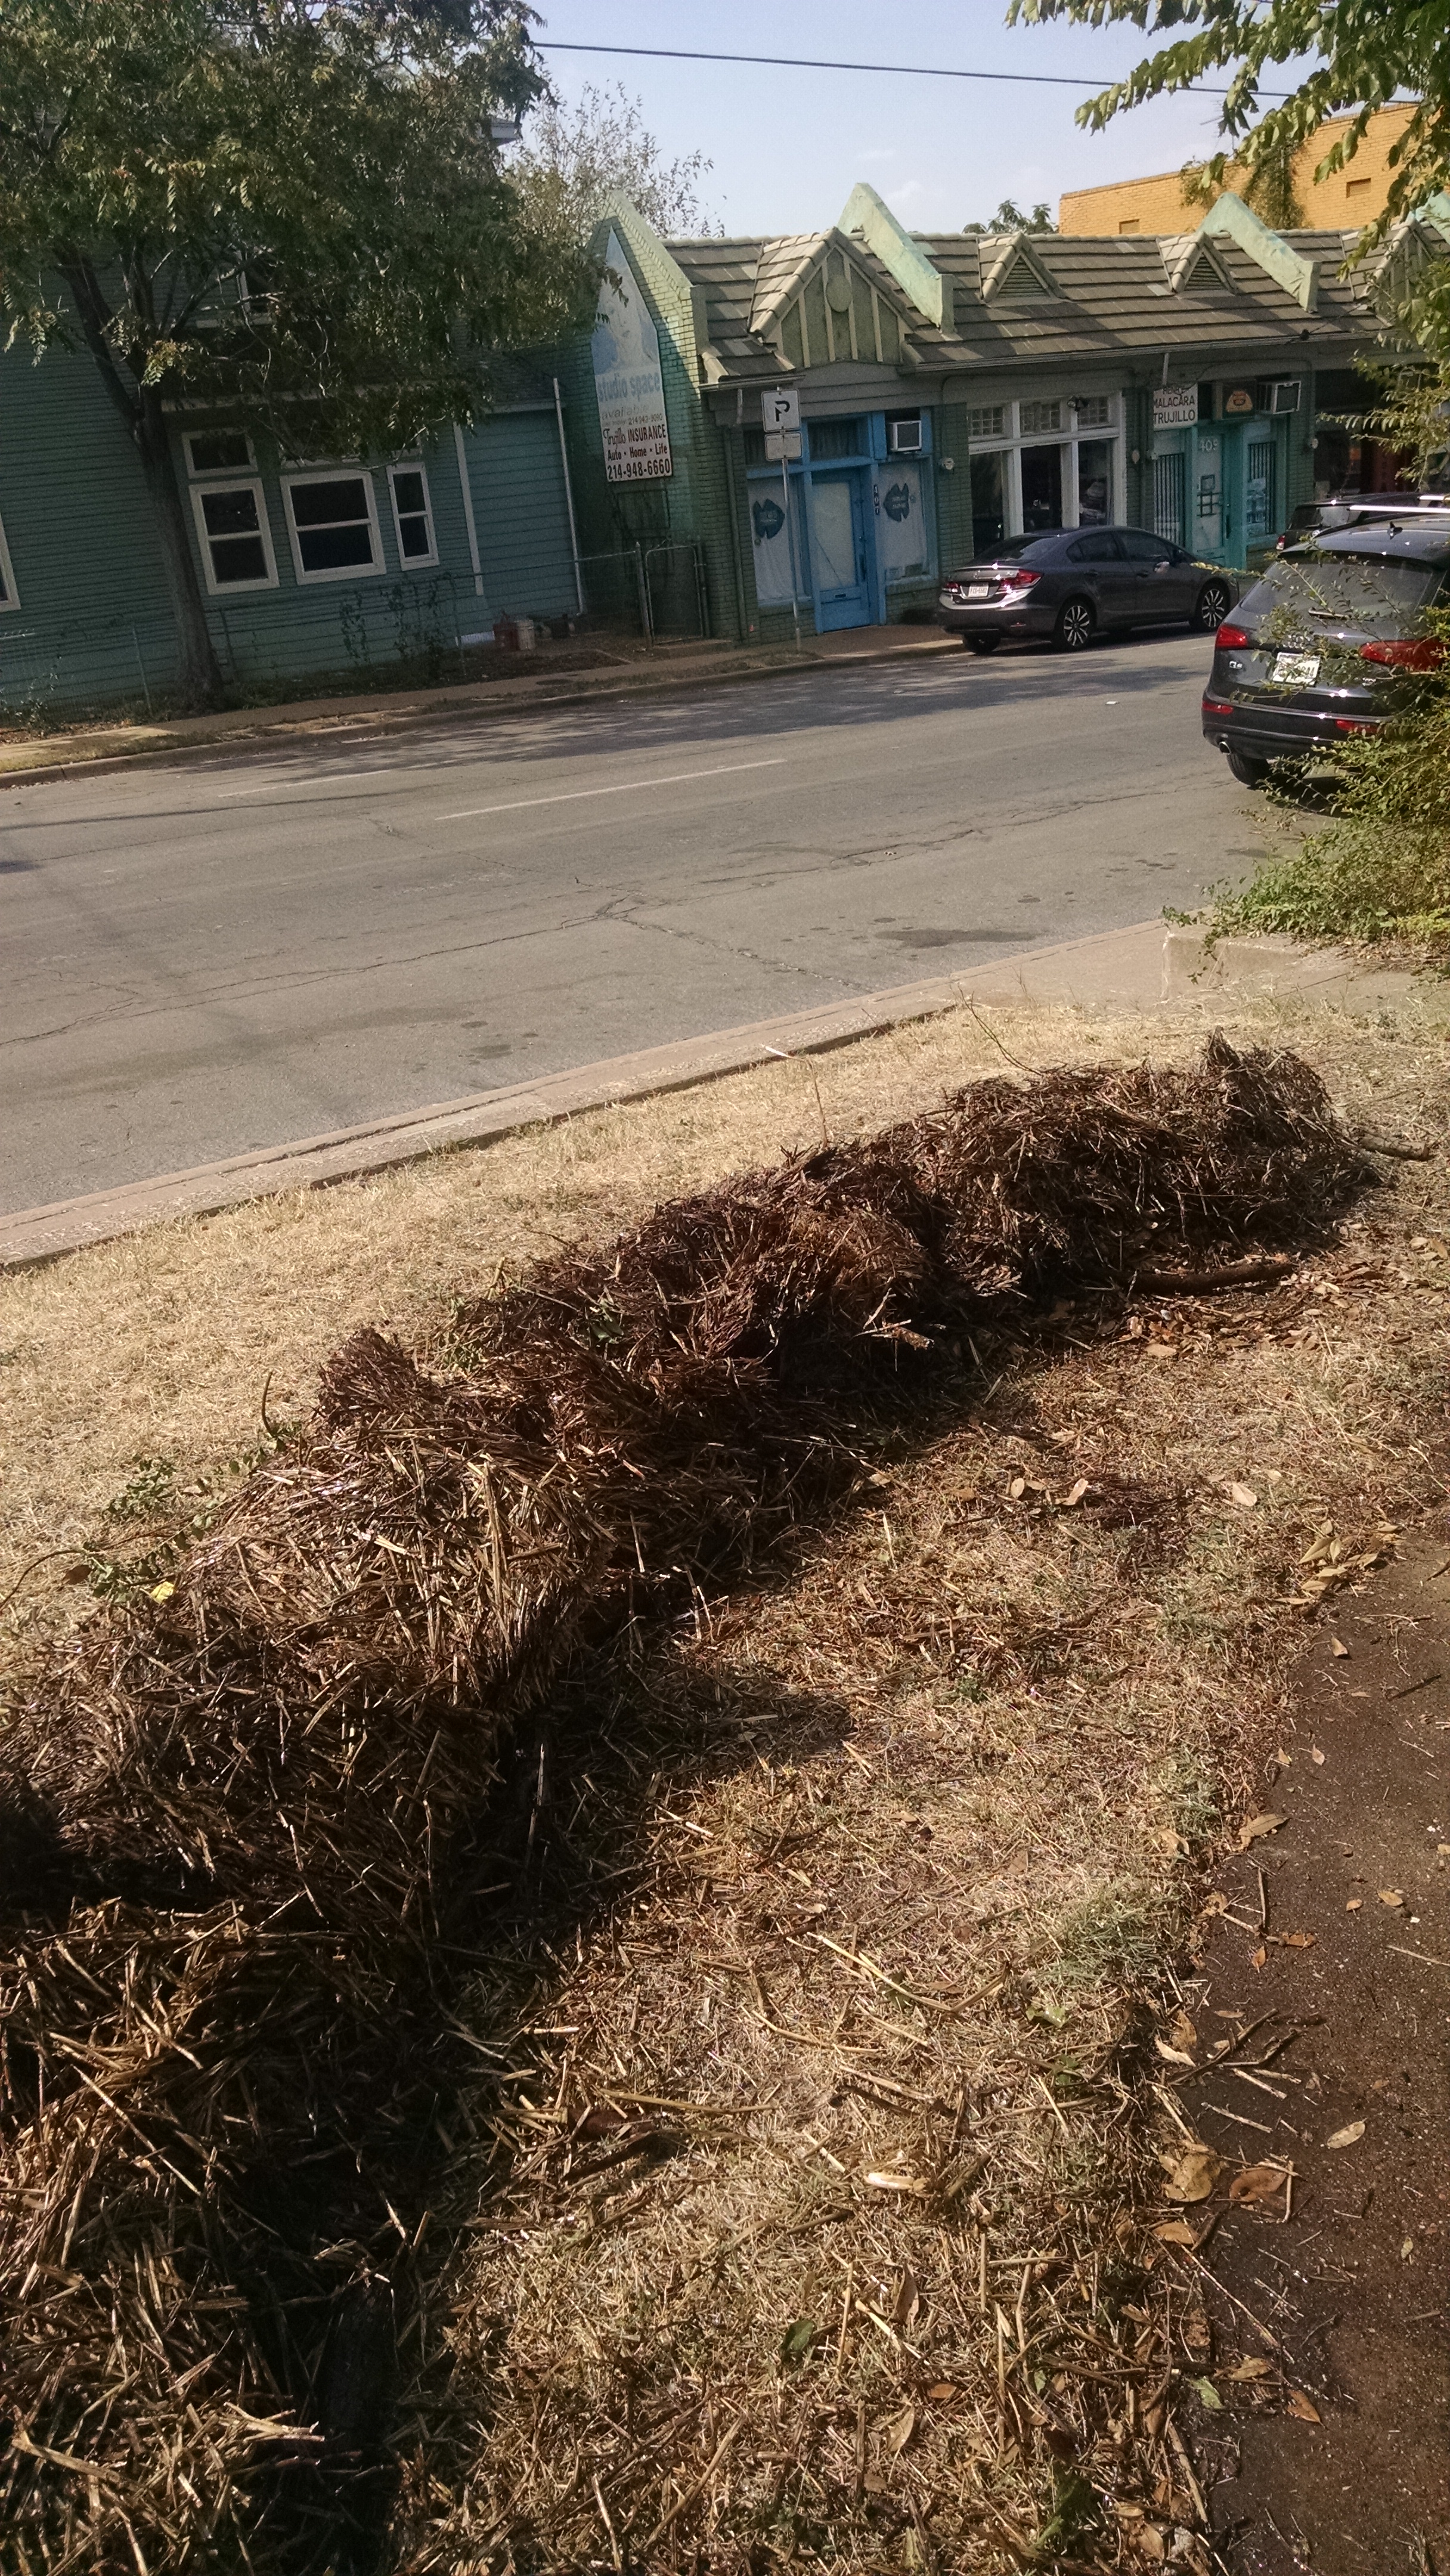
Now is the time to gather the leaves for your compost pile – I see bags and bags on the streets, and they will be picked up and gone to the landfill and not available until next year!  You need those leaves for mulch for your plants as well as compost.  AND, if you start your compost pile now, you should have rich, rich black compost with which to mulch your spring garden!

My friend Melanie, a Master Composter, will be teaching a class on composting at Trinity Haymarket (1715 Market Center Blvd in the Design District in Dallas) on Saturday, February 21, at 10 am.  It’s free and she is a great teacher.

In addition, Trinity Haymarket is taking orders for worms (for vermicomposting) as well as worm castings (Wow! do plants love those!) for delivery on February 21.  The worm products are from Texas Worm Ranch, owned and run by Heather Rinaldi. Located in Garland, she also has some dynamite classes for gardeners.

If there is one thing that is most important for the garden, it’s COMPOST!  And it doesn’t need to cost anything. You just use the materials you have around the house.  Compost happens when carbon and nitrogen-based materials are broken down by bacteria and fungi and become rich, black soil.

You can see compost when you go to a forest, and dig down a bit into the ground under foot.  It has happened slowly, as leaves and other matter have been deposited and then moistened with rains and decomposed.  It’s a natural process. Compost bins simple

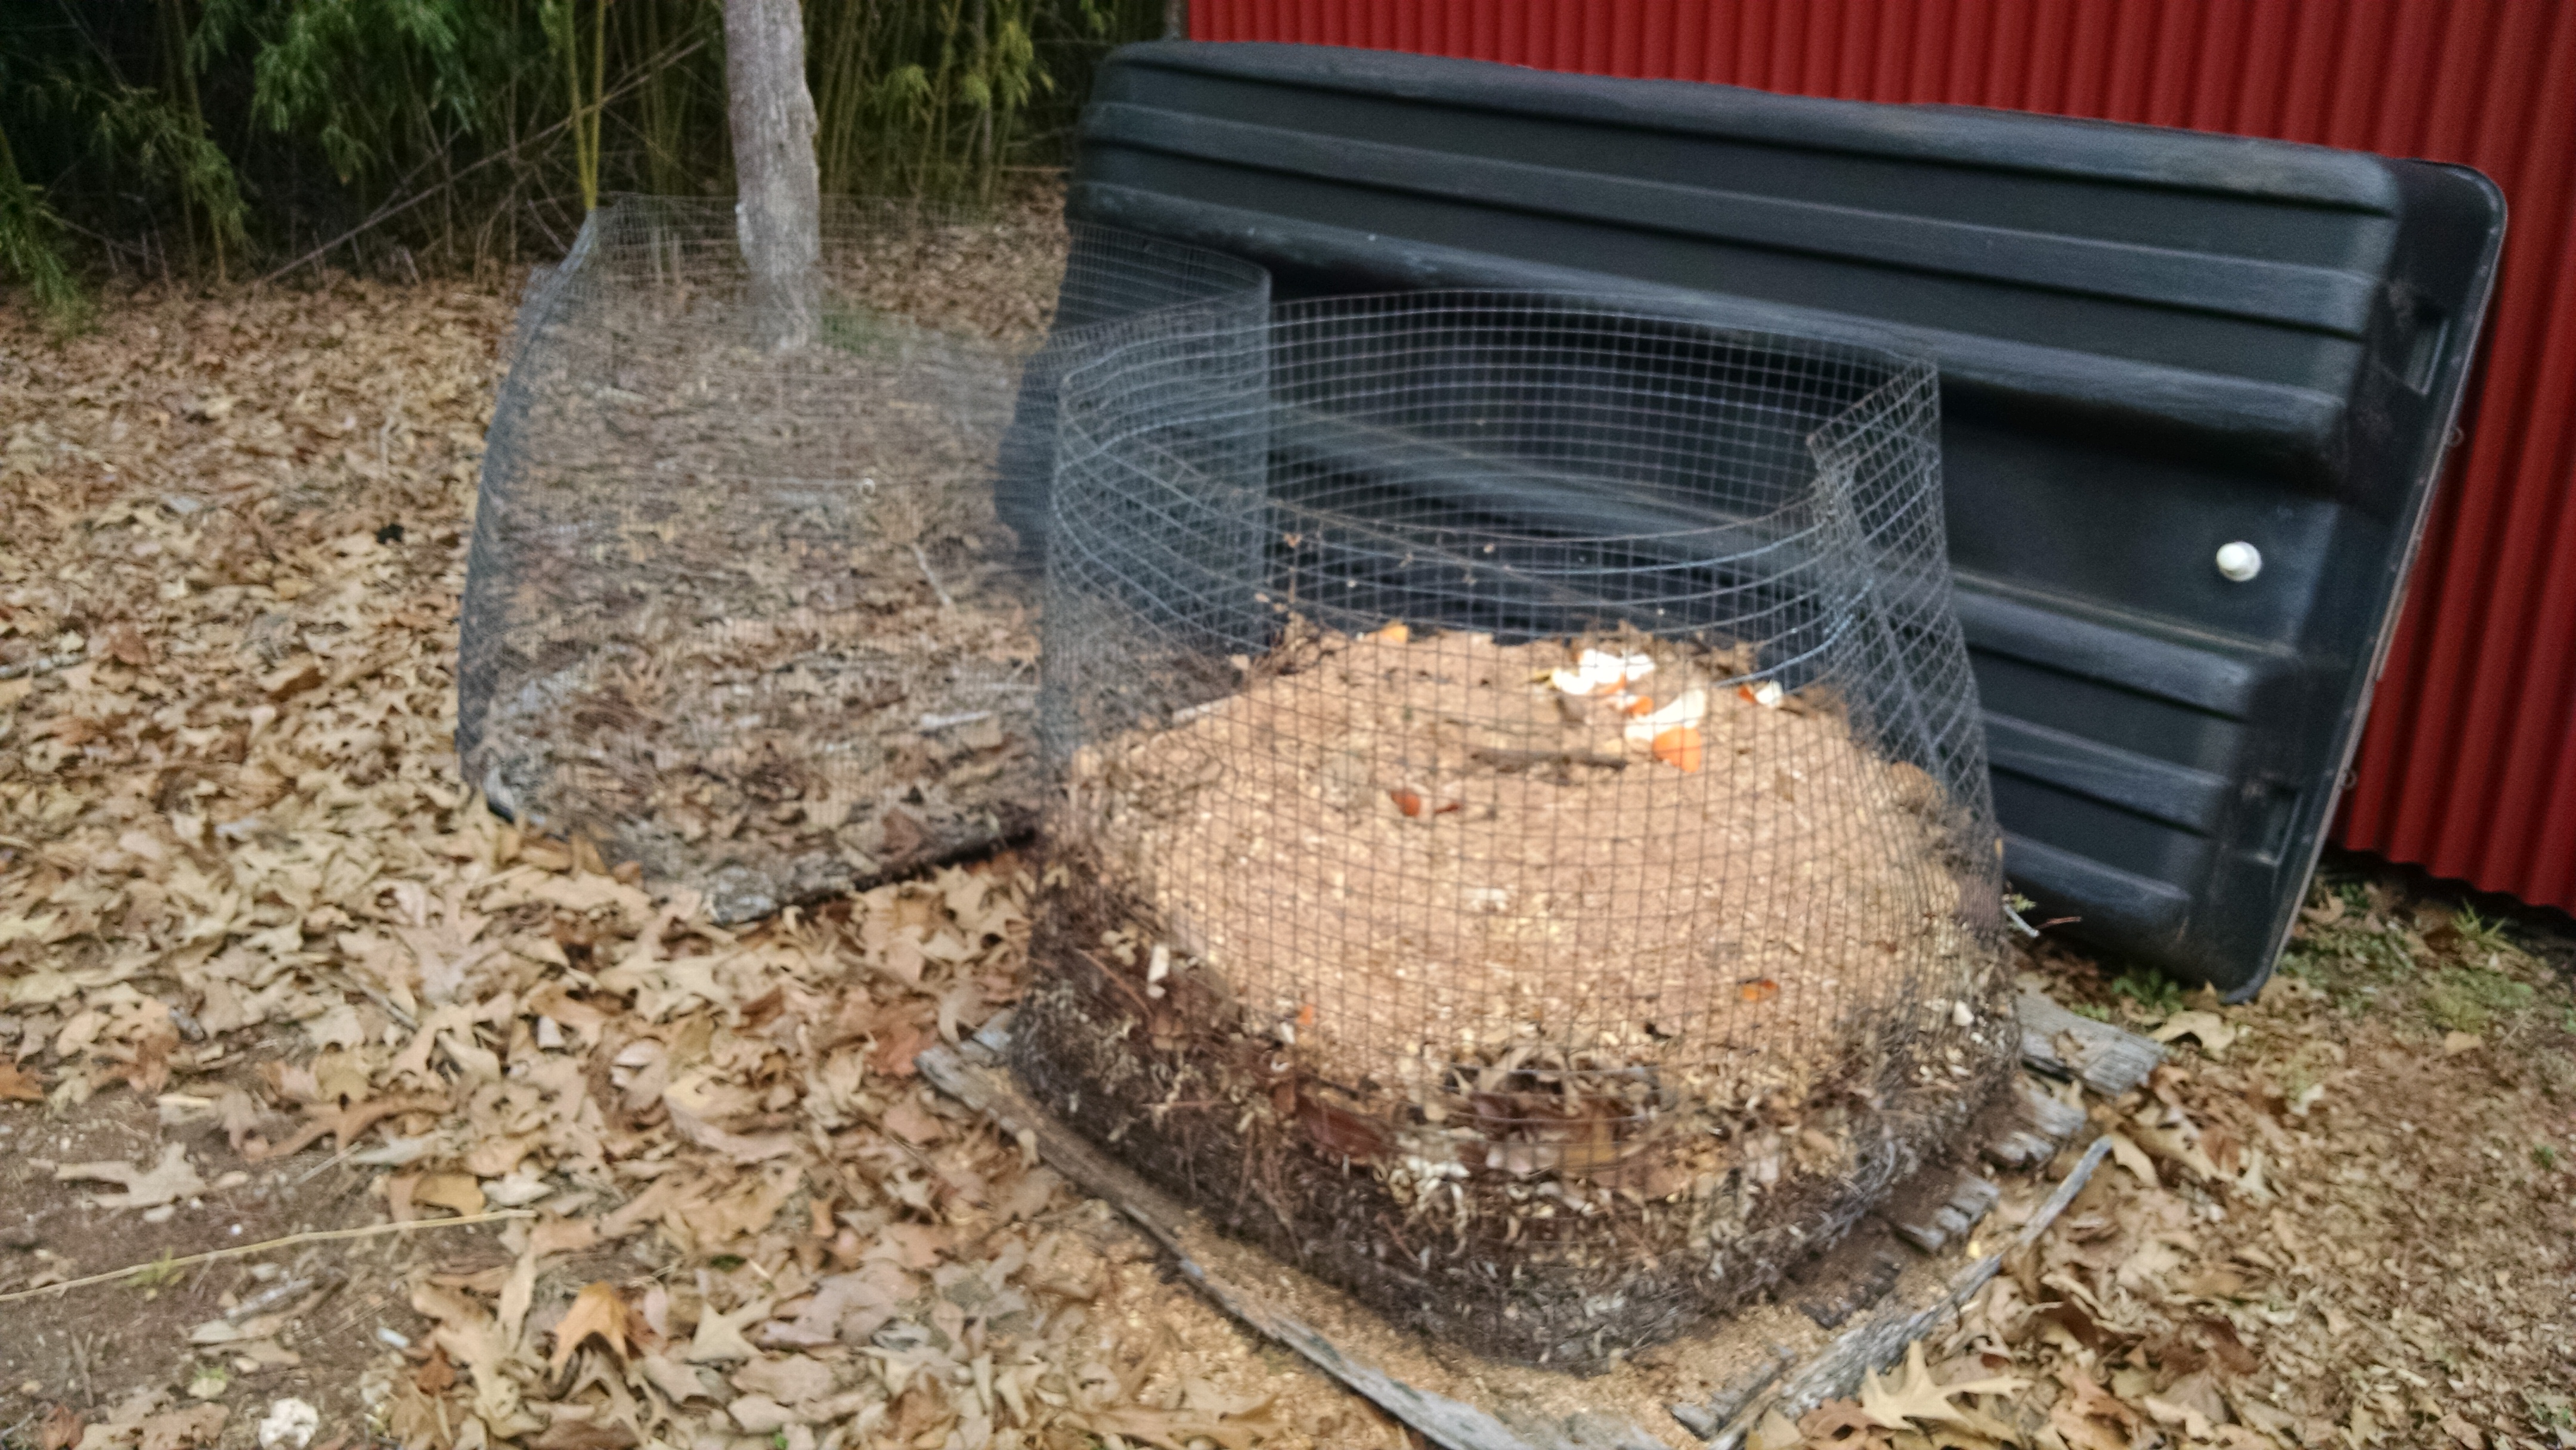
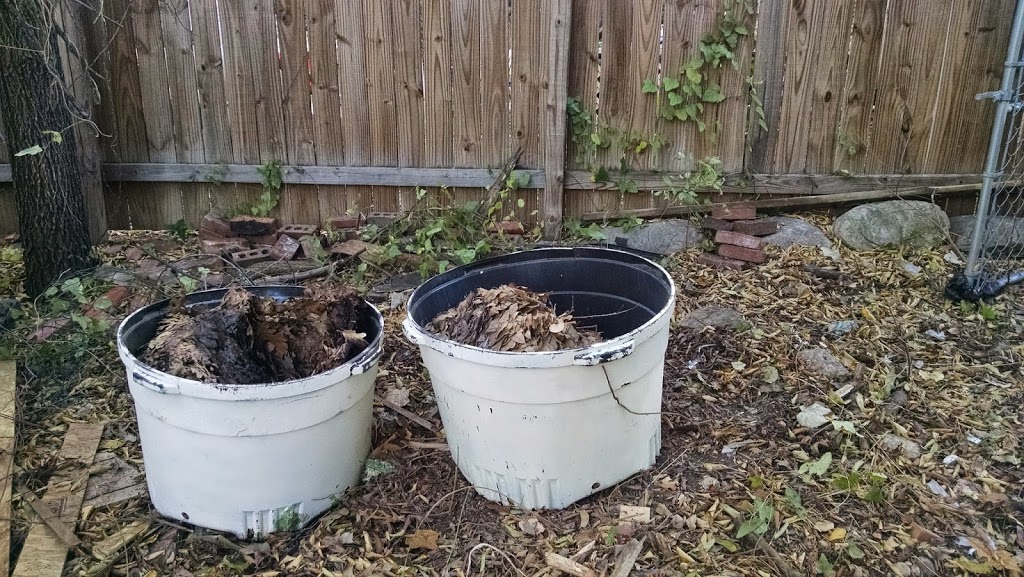
All that you need is a place to start a pile – you can make it simple, like the photo which shows my friends’ wire bins, or you can buy a really nice aerating compost cage or a compost tumbler.  It just depends on how much time you have (do you want compost really quickly, or can you wait a few months?).

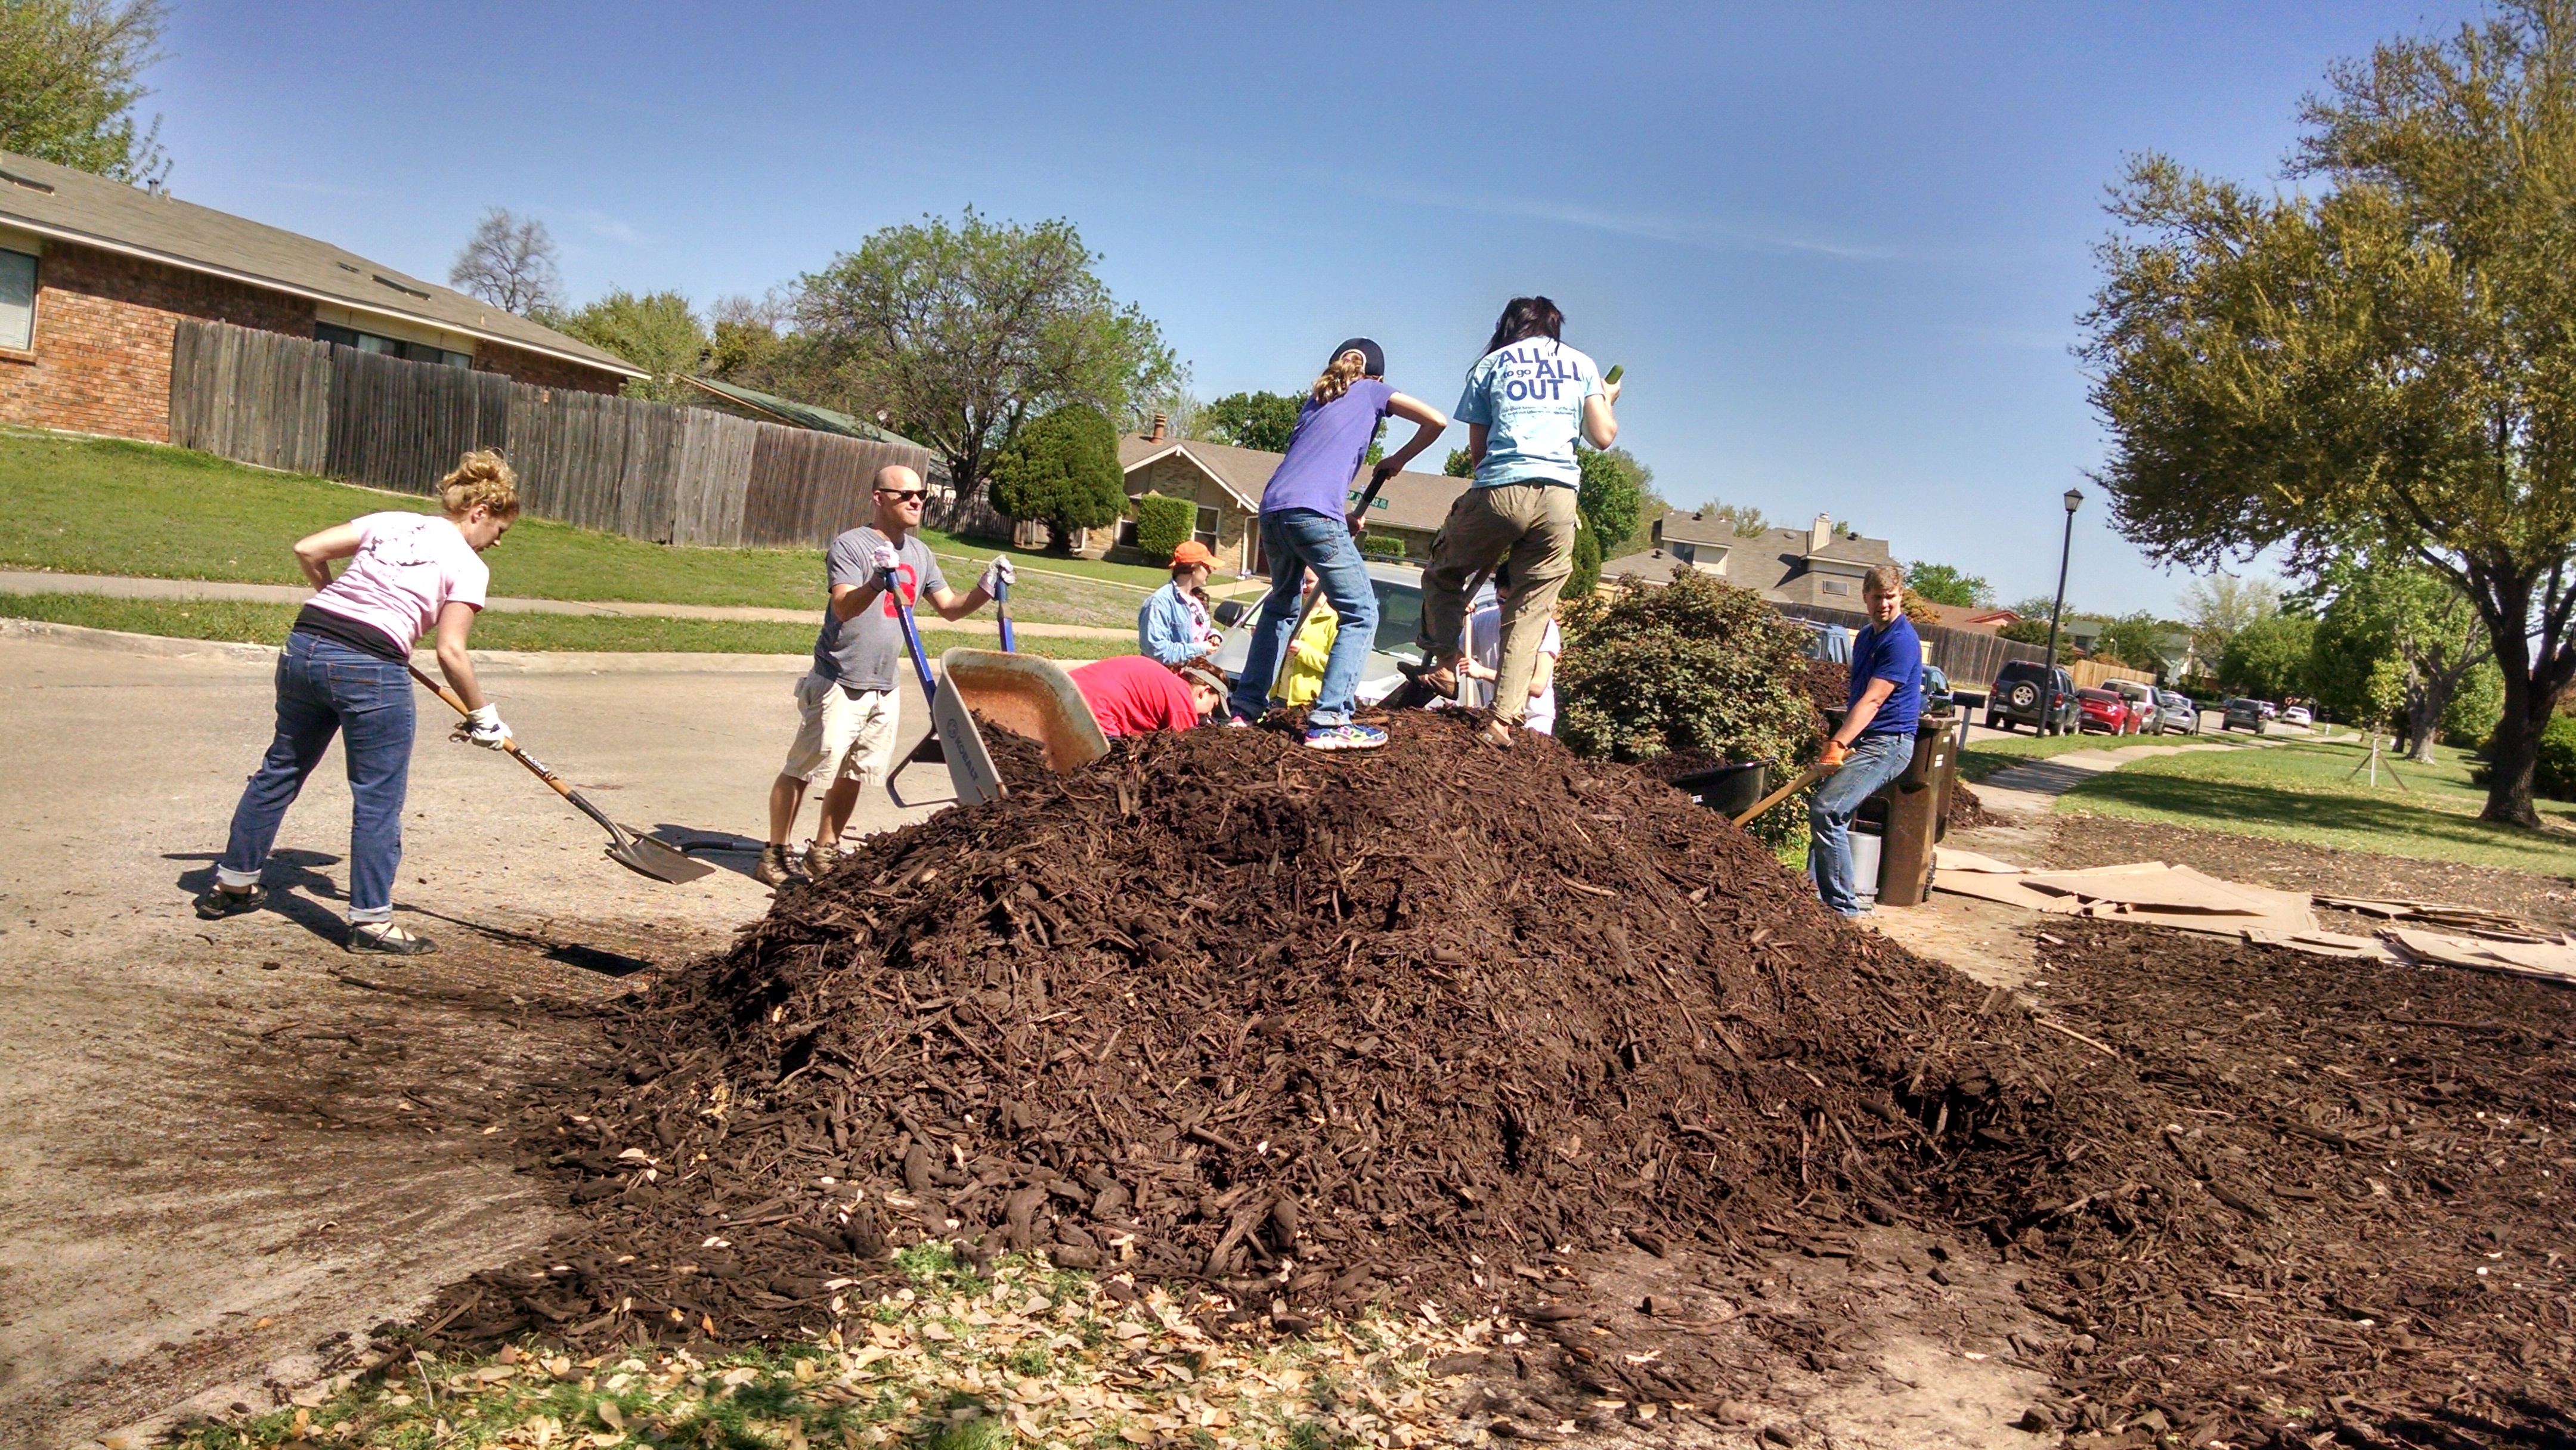
What goes into compost?  The rule of thumb is 3 parts brown to 1 part green.  As you build the pile, you should water it down – not wet as in dripping, but moist like a wet sponge.  It will help the little microbes get going better.  A dry pile doesn’t work or heat up very well.  And if you want compost in about a month or so, then you have to turn it and make sure everything is moist as you turn it.

There’s a list of the browns and greens below as a guide for you.

Browns (these are carbon sources) 

cardboard (shredded is best)

wood ash (but not much)

dead, woody plants (chipped/shredded trees, brush)

leaves – dry, yellow or brown

grass – brown only

sawdust

straw

dryer lint, vacuum cleaner waste

paper or wood products –(e.g., shredded newspaper, magazines if not too much slick paper)

natural fibers – cotton (100%), wool, silk


Greens (these are nitrogen sources)

grass clippings

hay

fresh green leaves

manure

kitchen scraps – no meat

coffee grounds/tea bags – make sure filters are biodegradable


Items NOT to add: 

Animal products (e.g., meat, cheese) – they can introduce disease and unwanted bacteria as well as attract critters to your pile.

Diseased plants – these can pass diseases to your garden through the compost. The only way to do away with diseases (and weed seeds) is to make sure your compost pile heats up.

Sawdust and wood shavings are okay, as long as they do not include things like bois d’arc, or cedar because these tend not to decompose easily, nor do they encourage micro-organisms.

The Smaller the Better

When putting items on the compost pile, think smaller – break or shred or chop larger items so that there is more surface area for the microbes to act upon.  The bigger the pieces of material, the longer they take to break down.

When you turn your pile, break up any clumps that you find.

Turn Your Pile Often

This keeps things moving and aerates. It also lets you see how the pile is working. An aerated pile heats up with the microbial activity.  And you’ll know when it’s done because it will be crumbly black and rich, and smell earthy. pelicans

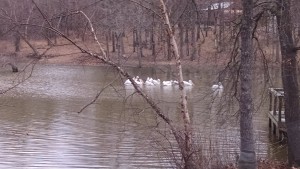
Just a side note, while I was out visiting my friends in East Texas, not only did I notice their great, simple compost bins, but I also watched the pelicans who inhabit their little lake, taking advantage of the plentiful fish.  It was a pleasant, peaceful time.  I sometimes forget about the wonderful places in this great state of Texas!


The Garden in Winter

“So what should we do with the garden this winter?  It seems like it wasn’t growing things as well as it has in the past.”

That’s the question I was asked this last week. 

My first response was:  if they are not growing any winter vegetables, to bury the garden in leaves – several inches thick, watered down.  Even some cardboard, well moistened.  This will help put organic matter back into the soil.  Another way to help the soil is to grow a cover crop during the winter – maybe hairy vetch – which fixes more nitrogen in the soil. 

Leaves are so plentiful this time of year.  If they do not come from your own lot, you can easily find bags carefully left on the curb – ripe for the removal by scavenging composters and gardeners like me! The last place they should be going is the landfill.  Many community gardens are lacking the carbon/brown needed for a good compost pile – leaves on the curb are an excellent source.

Compost is another treatment you could use for wintering over, layered a few inches deep on top of the soil, and then maybe spreading some azomite to add trace minerals to the garden bed. 

Azomite is said to contain as many as 70 trace minerals that are needed to grow healthy plants.  We have systematically removed these trace minerals from our soils, by growing plants with simple, commercial fertilizers.  The plants take up the trace minerals and, when the plants are removed, so are the minerals.  However if we mineralize the soil, the plants take it up, we eat the plants and our health is improved. Then, when we compost the waste and then put it on the garden, those minerals are returned to the soil.

A good garden soil will be rich and soft. So soft, you can easily grab a handful from deep down.  If it’s dry and dusty, then it is lacking in organic material.

If you are growing winter vegetables, make sure they are mulched deeply. This will not only help the plants weather cold spells, but that mulch will work its way into the soil and help improve soil fertility as well as water-holding capacity.

The bed pictured on the left was well mulched with straw before the cold weather hit.  It is still growing mustard and chard, and the mulch protects the feet of the plants from freezes, as well as holding in moisture – and that protects the plants from cold, drying winter winds. By spring, the straw will have started decomposing and becomes compost to feed new plantings.

And the soil….this is where it all starts!  If the soil is not healthy (read:  full of micro-organisms) then it will not produce healthy plants.  I’ll talk more about soil in another post – as well as give you a way to inexpensively do a soil census of your soil’s living organisms.


INTERPLANTING FOR TWICE THE HARVEST; UPDATE ON MICROGREENS

Interplanting is a technique that is used to obtain twice the harvest from the same space.  For instance, I will plant root vegetables (that use the growing horizon under the surface) with a leafy vegetable (that uses the growing horizon above the surface). One combination I use is carrots and mustard/chard/spinach.  Another combination I like is turnips with bok choy. 
 
Greens
I winter plant my carrots in the midst of other plants (e.g., greens) because the greens protect them (it’s called using nurse plants) until the nurse plants are harvested – usually about the time the carrots are ready to take off (in January and February). That way, I get bunches of carrots when I’m getting ready to plant the spring garden. 
Meanwhile, the greens in my outdoor garden are getting larger.  Every time I harvest some, it seems more grow to take their place.  The red mustard must be at least 15-18” high!  The lettuce is about to bolt, so it’ll go into my salads this week.  I think I’ll plant more red mustard for the color as well as the nutrients.  Of course, the kale is happy, and I see the carrots are starting to take off.
Work is continuing on the compost pile, while the microgreens grow higher – selectively. 
compost-2Bturning
I decided to use three containers for the compost pile, especially since I had 2 containers’ worth of leaves and chicken coop straw.  With a third, I was able to turn the first pile and make sure it was moist.  Green matter from the kitchen was added and mixed in well.  I was able to use a short-handled fork – one that is commonly used to turn over garden areas.  The second container will now be turned into the first, which is now empty.  I’ll probably cover the “completed” one to let it heat up; but I’ll continue to turn it on a weekly or bi-weekly basis to make sure it’s aerated.

The microgreens are about ready to harvest with kitchen shears – at least SOME of them are.  I’ll have to taste them to determine which ones are the fastest growing.  I may share some of these with my chickens. In fact, I’ll probably prepare another tray of microgreens just for them.  At the rate the greens are growing, I could start a tray about every week or two and have a steady supply of tasty salad add-ons throughout the winter!

micro-2Bgrns-2Bwk-2B2

Compost – Otherwise Known as Plant Vitamins

Compost is one of the “vitamins” we offer our plants.  
Compost can be made in a large bin (e.g., 4’x4’ pallets), a wire bin, a tomato cage lined with wire mesh, a trash can (DIY compost tumbler). The important thing is to keep the mix of brown and green, keep it moist (like a sponge) and keep it turned/aerated.
I wanted something smaller for my composting, something I could move about if needed.  Since I had a number of containers used by landscapers to transport trees, I decided to repurpose them.  They are a decent size – about 30” in diameter and about 18-20” deep.  They also have drainage holes in the bottom. 
I wanted them closer to the back door than the compost pile I had 25 years ago, because the easier the access, the more likely I am to deposit food waste into it.  However….the spot was occupied by an old utility trailer covered with scavenged fence pickets.  I spent the afternoon removing nails from the pickets and stacking them elsewhere. 
Trailer
A friend helped me to move the trailer out and the bins in.
Now, the bins already contained leaves from last fall, so I had a head start on the brown for my piles.
Bins-2Bcompost
 A compost pile needs four things:  carbon materials (“brown”), nitrogen materials (“green”), air and water (50-60% moisture content).  If the pile is dry and doesn’t decompose or heat up, it has too much brown or not enough water.  The pile should be moist so that, when squeezed, a few drops of water come out. If the pile is slimy and smelly, it has too much green or wet, and needs more brown and aeration (turning). The rule of thumb is 3 parts brown to 1 part green.
I have the brown, and cleaned out the chicken coop, which gave me some nice chicken manure rich in nitrogen.  I’m also picking up some additional “green” from a friend who has too much of it.  There are also a couple of bags of coffee grounds my daughter brought over from Starbucks, so with some water for moisture I have a good start for composting!
For turning, since the bins are closed on all sides, I found a couple of grill lifters on clearance from Target.  They look like angled forks, and should work sort of like tossing a salad. 
So….what can I include as browns? Well, cardboard (shredded is best), wood ashes (but not much), dead, woody plants (chipped/shredded trees, brush), leaves, grass (brown only), sawdust, straw, dryer lint, vacuum cleaner waste, paper or wood products (e.g., shredded newspaper, magazines if not too much slick paper) and natural fibers (like 100% cotton, wool, silk).  The greens – nitrogen sources – include grass clippings, hay, fresh green leaves, manure, kitchen scraps (no meat!), coffee grounds and tea bags (make sure the filters are biodegradable.
When putting items on the compost pile, think smaller – break or shred or chop larger items so that there is more surface area for the microbes to act upon.  The bigger the pieces of material, the longer they take to break down.

When you turn your pile, break up any clumps that you find.  Turn the pile often – this keeps the pile aerated and anaerated pile heats up with the microbial activity.  And you’ll know when it’s done because it will be crumbly black and rich, and smell earthy.

And, most importantly, turning the pile  keeps the critters out!
UPDATE ON THE MICRO-GREENS
The micro-greens I talked about last week sprouted within two days! I have watered by placing the grow tray in a larger tray with water. This lets the medium and plants soak up what they need. I leave the tray for about an hour or so, then empty the excess water and return the tray to its spot in the sun.  As you can see, the greens are coming along nicely – some are over 2” high. If they keep this up, by the end of 10-14 days I can start harvesting by cutting the greens for salad.  The neat thing about micro-greens is that they pack all the nutrients of the full plant in just the small sprout package!
 

Microgreens-2Bwk-2B1