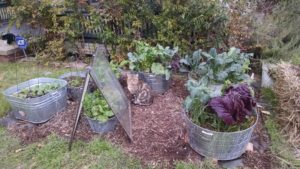
A few weeks ago I was asked to assist build-out of a garden in 10 horse troughs – the 8′ long, 3′ wide and 3′ deep galvanized type. Here’s how we did it on the low budget side with maximum soil building and micro-organism habitat that is high in organic matter…. with hugelkultur!
First, we drilled holes along the bottom of all sides – 1/2″ holes about 12-18″ apart about 2″ up from the bottom. This is for drainage. Otherwise, we’d have a bathtub marsh and vegetables and herbs just don’t grow well in marshes.

The containers had water lines already set and coming in from the bottom. These had to be held upright so that we could connect drip irrigation at the top when the containers were filled. We duct-taped the lines to a stick used as a cross piece.
Next, we added logs and branches, cut to about 3′ lengths. This filled in the bottom foot or so. The wood was collected from an urban forest – it was downed wood, that was older – the best! The wood will decompose, forming a wonderful habitat for micro-organisms, while also becoming spongy and thus holding water.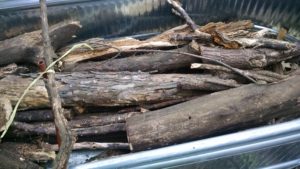
Then we needed to fill in the spaces between the logs – what better material than wood chips?!
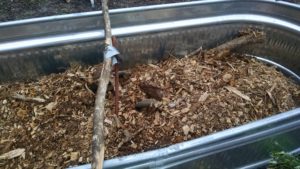
We were generous with the wood chips, and then put in lots of leaves, which were watered in well.
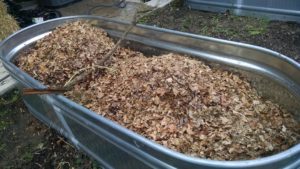 We knew the containers were draining well when we watered in the leaves – all the leaves needed to be moistened, just like in a compost pile – because water drained out the bottom of the containers into the walkways. These became a bit muddy, so we added woodchips to soak up the moisture.
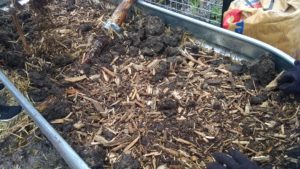
Our next step was to add more woodchips. We watered again. We added straw.
We noticed that a bobcat was leveling a site across the way from us, and the dirt it was removing didn’t look like black clay. We went over to investigate, and the soil was mixed with woodchips – that had been put down on the site a year or so before. We convinced the bobcat operator to share some of this woodchip loaded soil with us. And we added it to the mix – it helped us innoculate the beds with native micro-organisms.
 You can see that we are filling up the bins nicely. Once again, we watered the bins to help compact the straw. We had been working about an hour and a half (it went quickly with about 10 people working), and took a break while we waited for the top soil to arrive.
This was the only expense – 10 cu. yds. of organic top soil. The rest of the materials were scavenged or delivered free (ever wonder what tree trimming services do with the limbs they chip – often they have to pay to dump them so they are very happy to provide free chips to folks in their area), or leaves nicely bagged and left at the curb for picking up by anyone.
The top soil then was used to top up all the bins. Doesn’t this look luscious and ready to plant? But wait! We need to add a couple of things to help these garden beds along – my favorite trio of Azomite (pelletized volcanic ash that provides essential and trace minerals to the soil), Wildroot mycorrhizal fungi to help the plant roots access nutrients in the soil, and worm castings (one of the best sources of bacteria for the soil ecology as well as fertilizer).
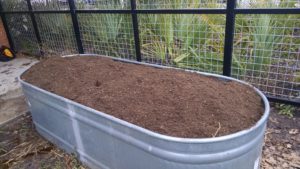 All that is needed is to set the top drip irrigation lines, and plant!
These beds will not need as much water as other raised beds because of the hugelkultur construction. They will sink down as the organic matter decomposes – just like a compost pile – but then all one needs to do is add mulch and/or compost on top with every planting season.
