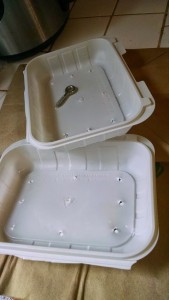
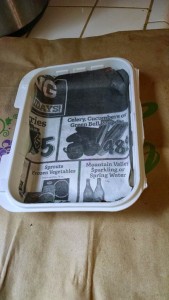
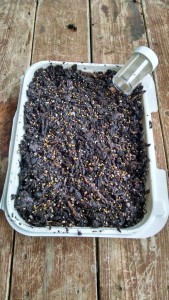
As I search for ways to teach how to grow food in winter (and/or indoors), I happened on a slim volume called “MicroGreenGarden: Indoor grower’s guide to gourmet greens,” by Mark Mathew Braunstein (Book Publishing Company – Green Press Initiative, 2013). Braunstein carefully and clearly sets out the advantage of microgreens and how to start and grow them. I was inspired!
Monthly Archives: November 2014
SNOW!
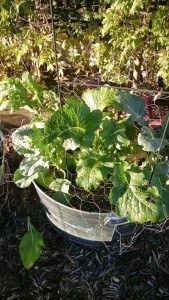
As I write this Sunday evening, snow is drifting down…and sticking on my lawn and on my garden plants. I have no fear that the chard will survive – it’s truly the wonder green. I had a chard plant I kept going for two and a half years! I finally took it out, because I wanted to plant something else there. Chard will freeze, wilt and spring back with watering.
But the mustard? How will it fare? I have both green and red mustard. I’m sure the kale will make it. Might just water it again tomorrow – deep watering – to give it some warmth. And the lettuce under the window A-frame is missing out on the snow.
That can be good and bad. Snow can insulate a plant from deeper freezes. But the ad hoc greenhouse may be just enough to keep the plants alive. This is an experiment!
I tell anyone learning to garden – don’t be afraid to experiment! That’s what it’s all about! Try something new. Try a new plant. Try it in a new place or plant it in a new way. You’ll have some failures. But you’ll also have some surprising successes – like my chard plant.
I’ll write more tomorrow – and may even take a picture or two to show how my garden did/did not survive the early snow.
Protecting Plants in the Freeze
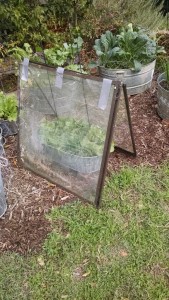 The day before the expected first freeze of the season, I watered all the plants in my container garden deeply, to keep them warm through the possible freezing night. I was most concerned about my lettuce, which makes wonderful salads. After brainstorming with a friend, I retrieved two panes left from an old storm door that had been sitting the back yard since forever. With a little duct tape, I managed an a-frame greenhouse arrangement over the bed. When I checked the lettuce this morning, it was still perky and actually felt a bit warmer to the touch than the other, uncovered greens. Of course, I expect the mustard, kale and chard to weather the freezing temperatures well. I have had chard covered in ice which I watered and it came back. In fact, I have had a chard plant last 2.5 years before I became tired of it in the spot and took it out! I’ve heard of one lady who had a plant that was 5 years old. So the lesson is, plant chard where you want it to thrive for a while and keep it watered.
Beautiful Weather for Gardening
 AND THEN, I gave a talk on straw bale gardening to a local gardening group. The advantage of straw bales is that they are mobile. They are also temporary and are ideal for renters who want to garden but don’t want to tear up a landlord’s yard. Another use is if the only spot for a sunny garden is on the patio or the driveway!
 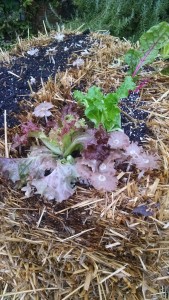 The second set I’m working on is a bit slower going because of the cooler temperatures. I’ve used a different set of organic materials. It takes time – the plants are slow at first, but when they hit the composted interior….WOW! … they take off. Here’s a picture of what my current set looked like on October 10. Note the mushrooms that have appeared like stars among the transplanted greens. That means that the bales are “cooking” with microbes.
Moving Hens – and Mav the Alarmist
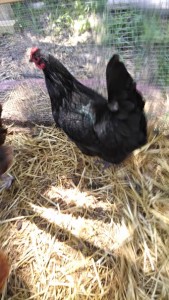 About three weeks ago, I moved six hens into the backyard coop. You’ve met the hens before…in previous posts… but in a different setting. Now, they reside with me and I can sit on my back step with my tea and commune with them in the morning. A dear friend helped me with the move, which required some planning. First, we had to pick a night we were both available and then find two pet carriers. A flashlight and headlamp completed the equipment list.
Hens should be moved at night – they are sleepy and so it is less traumatic for them. We avoided lights, wondering if at any moment we might be questioned by law enforcement about why we were slinking about with flashlights hen-napping. But, with a few squawks we managed to get all six hens transferred from their roost in the old coop and into the two carriers and loaded in my van. A short drive to my house and the carriers were moved into position. I had planned on putting the carriers in the run and then opening the doors to let the hens wander out. But, alas and alack … the door to the run was too narrow!
Therefore, after positioning each carrier at the door, I reached in and plucked each hen out, then placed her on the shelf above the watering/feeding station. The shelf was the spot of choice because the coop framed out in the shed was not quite complete. But, with a tarp over the end of the run, it was snug and cozy and the hens slept there for a few nights quite happily.
In the morning, I went out the back door, to find the hens clucking, scratching and pecking in their normal manner. At least five of them….the sixth, Mavriki the black Australorp, was squawking and pacing about the run, checking the perimeter and otherwise fussing. She seemed to be saying, “Doesn’t anyone else notice that this place is different? Doesn’t anyone know we’re not where we were?!” No one else seemed to care. By the next morning they had convinced her it was okay, even if it was different.
The hens are now settled in and, with molting nearly complete two of the hens are laying again. But wait eagerly for the green, blue and pink eggs to be gifted again by Winnie, Aurie and Rosie, the three Ameraucanas.
